RT Pro RZ3 MID Travel Kit Installation
Thank you for your purchase! You are about to completely change your perception of what a UTV is capable of! The RZ3 kit is one of the most technologically advanced suspension kits on the market. We’ve put a lot of work into building the best bolt-on kit available. There are a few key points one should know to install this kit. If you have any additional questions PLEASE feel free to call tech support anytime at (616) 928-0616. Or email at [email protected]
- Your kit will utilize the OEM pivot hardware, bushing sleeves and bushings.
- If you’ve purchased your kit with our Delrin Bushing upgrade you will need to reuse everything less the OEM bushings. WE DO NOT RECOMMEND GREASING THE DELRIN BUSHINGS.
- Upon final assembly, we recommend using blue Loc-Tite on all of the hardware assemblies involved in installing this kit.
- PLEASE read all directions before removing stock parts.
Front:


- It is critical the spindle adapters attached to the stock spindle are VERY tight. There can be NO free-play.
- The tapered spacers in the heim joints should always tighten against the casting of the spindle.

- The exposed threads on the upper heim joint should be approximately .187” with the jam nut tightened.
- The exposed threads on the lower heim joint should be approximately .250” with the jam nut tightened.
- Mainly, the camber setting at ride height should be negative .5° to 1° depending on driver preference. This means the top of the tire will be leaned in towards the middle of the vehicle. The higher the degree of negative camber the more the front tires will bite in a turn. Although 1° negative is the most you should use.
- You must remove the complete OEM tie rod assembly from the steering rack. A large Cresent wrench should do the job.
- When installing the RT Pro steering clevis it is CRITICAL to use RED Loc-Tite liberally on the threads. When tightening the clevis it is CRITICAL to position the forks exactly vertical with the swing of the A-arms.

- Utilize your OEM tie rod boots. They will require some careful trimming around the small end of the boot. The boots must be used to prevent damage to the steering rack!


- The tie rod heim joint must attach to the bottom side of the spindle casting, the same way as the OEM setup. The supplied washer should between the nyloc nut and the casting of the spindle. THE BOLT SHOULD GO IN FROM THE BOTTOM UP. The tapered spacer for the heim tightens against the casting of the spindle. NOTE: You will have to loosen/remove the brake caliper to Tie Rod bolt to go in from the bottom up. Usually you can just remove the top bolt and loosen the lower so the caliper can be swung out of the way.

- The axle nuts should be torqued to 65 ft. lbs.
- DO NOT forget to crimp the nut down into the groove in the axle. Use a small punch and a hammer to do this.
- Before driving, the alignment of the steering MUST be centered and the toe-in should be set at 1/8” inwards overall.
Rear


- The arm assembly is quite straight forward for the rear. You can choose to use your OEM sway bar or not. We recommend starting with it on and getting a good feel of the machine before deciding to eliminate it.
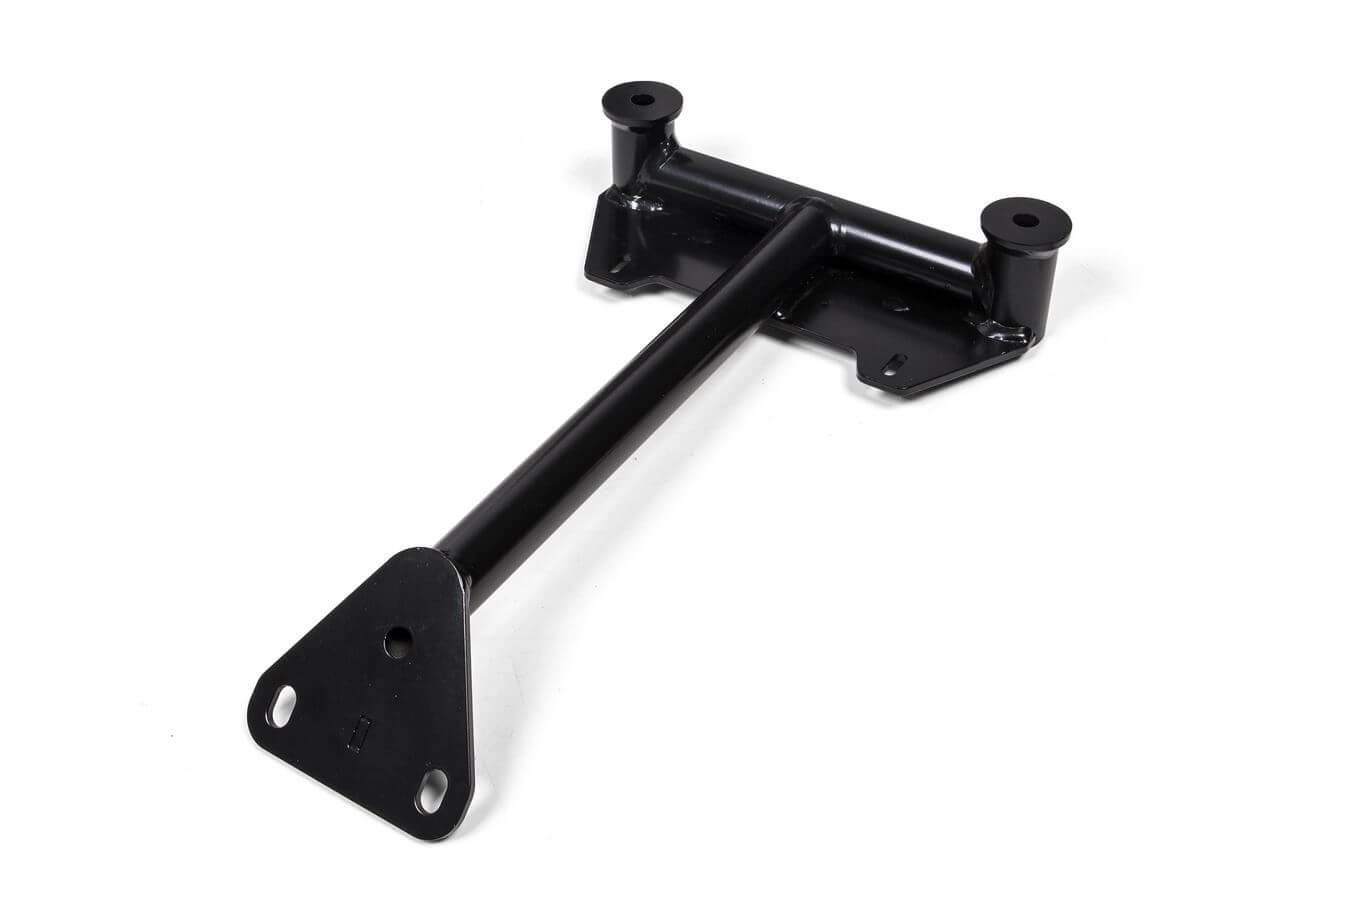
- Please use the rear upper shock mount reinforcement brackets provided with your kit. These will substantially improve the strength of this mount.
- To install the brackets, remove the rear taillight plastic. Then, using the upper shock bolt, align the front and rear brackets and tighten them on to the chassis. Using the holes in the brackets to center the drill, drill through the frame with a 3/8” drill bit. When drilling is complete use the supplied hardware to final assemble the brackets to the chassis.

- The axle nuts should be torqued to 65 ft. lbs.
- DO NOT forget to install the cotter pins through the axle nuts on final assembly.
Brakes:
- When installing the supplied brake line kit you can use the tabs welded to the arms to hold the lines in place. We recommend using medium sized zip ties to fasten them.
- Be sure to use the supplied bronze washers on both sides of the banjo fittings.
- When it’s time to start bleeding, start with the rear brakes first. The theory is to start with the caliper farthest away from the master cylinder which would be the rear passenger side.
- We’ve found it is usually necessary to utilize some form of a vacuum assisted brake bleeding tool to get the process started. After fluid is running through the entire system you can begin bleeding manually. Remember slower pumping is better.
Shocks:
- If you will be using the stock shocks you will need a spring compressor to install the supplied springs.
- With the spring compressed, remove the stock retaining ring and disregard.
- Upon installation of the new spring use the supplied retaining ring to reassemble the shock.
- You can adjust the preload on your shocks by turning the collars at the bottom of the springs. This will adjust the ride height of the vehicle and the overall feeling of stiffness. The desired ride height with stock tires is 10 1/2”rear and 11 1/2” front from flat ground to the bottom of the chassis with the driver in the vehicle. Adjust preload accordingly.
- Your springs have been determined for your kit. It is possible you may find your driving style requires a variation from the pre-determined specs. If this is the case please contact us for additional assistance.
This concludes the installation of the RZ3 Mid Travel Kit. Enjoy your new machine! You will find you are able to do things with your RZR that you never knew were possible. Take it slow at first to get accustomed to your new machine before trying anything drastic. You will find one of the biggest initial differences will be the increased stability of your RZR. After that you will find everything else that long travel has to offer!
We’d like to hear about your experiences and see your RZR after the installation! Please send comments and pictures to [email protected]
Disclaimer: RZR Tech / Spectrum Sandsports will assume no responsibility for accidents or injuries due to improper installation or use of our products. Ride at your own risk!